Posted on Thu 26 May 2016
Making the Music Memory Box
As I write I am in Falmouth Universitys' fantastic workshops, waiting for a job to be completed by the laser cutter. Up until this point I have been tinkering with the Raspberry Pi and writing my system, testing speakers and amps, doing hands on research in day centres, memory cafes and care homes…
Posted by

Project
Music Memory Box
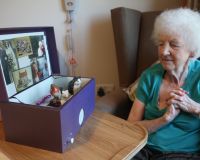
Music Memory Box harnesses the evocative power of music to create a tool for people living with dementia to recollect, reminisce and reconnect with loved ones.As I write I am in Falmouth Universitys' fantastic workshops, waiting for a job to be completed by the laser cutter. Up until this point I have been tinkering with the Raspberry Pi and writing my system, testing speakers and amps, doing hands on research in day centres, memory cafes and care homes and developing a useful understanding of where the Music Memory Box fits in within different care settings and scenarios. I learnt how to use the laser cutter on Monday and have been working tirelessly to get a decent prototype for the Music Memory Box Kit to show next week. I would have liked to experiment making boxes on the large cnc router, however as with all machinery this decided to break the day I had it booked out!
This is the first time I have used a laser cutter so it was very exciting.
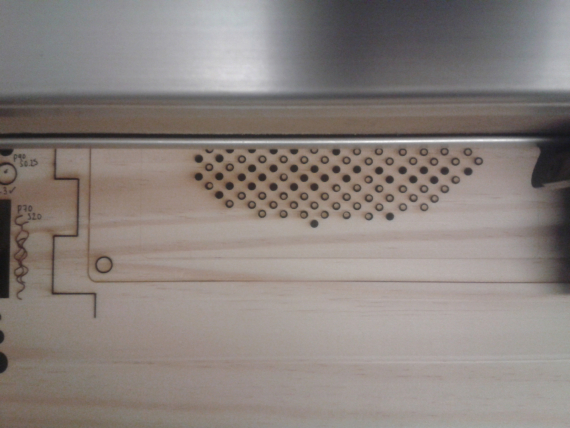
I first started by experimenting with the aesthetics and trying some grill experiments in cardboard. I used my drawings and sketches of old bakelite radios as inspiration.
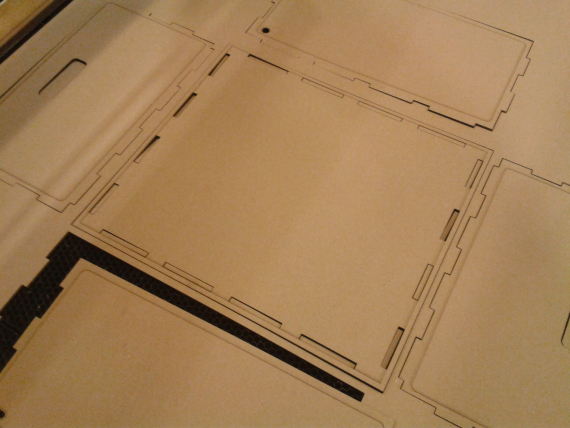
Next I made some scale models of how the box will be joined together. The idea is that the box is flat pack, and people can construct it themselves. This means it has to be quite simple interlocking design. Also the speaker that is joined to the front panel is quite heavy so the material used needs to be atleast 8mm. I have been using illustrator and Katie Bunnell has been helping me with my illustrator technical issues.
Next came trying out certain materials, as the material needs to be sturdy enough to support a speaker, but not too thick, otherwise it will not cut on the laser cutter.
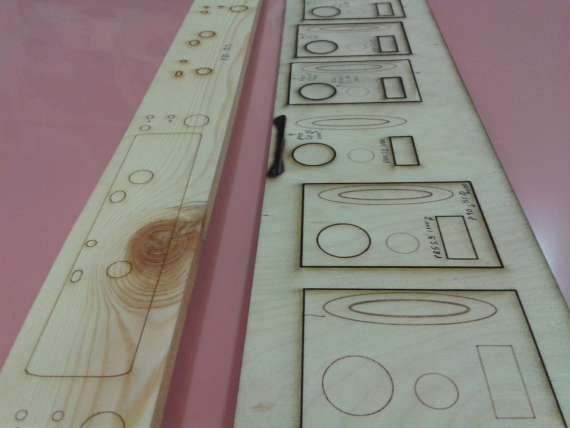
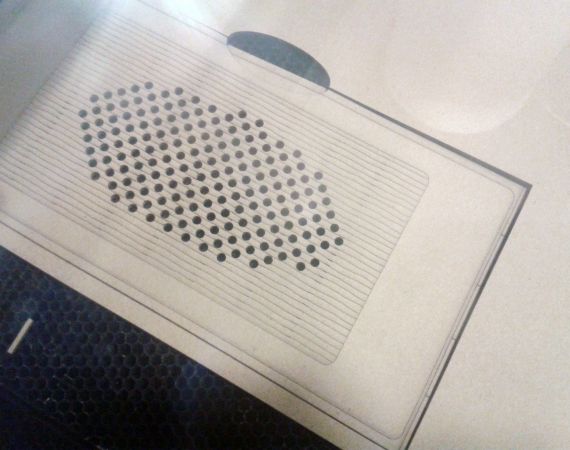
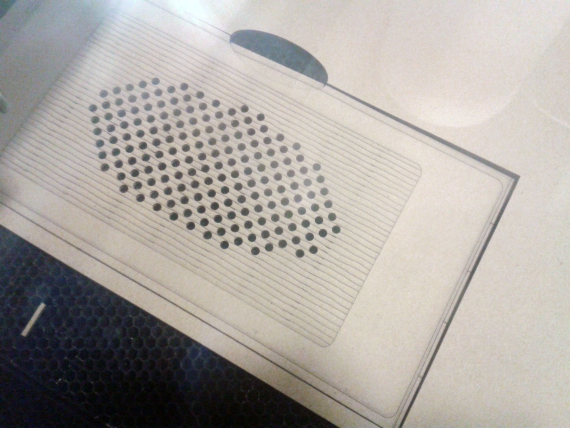
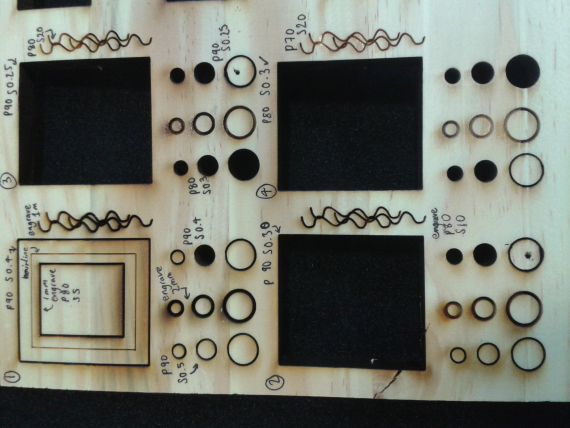
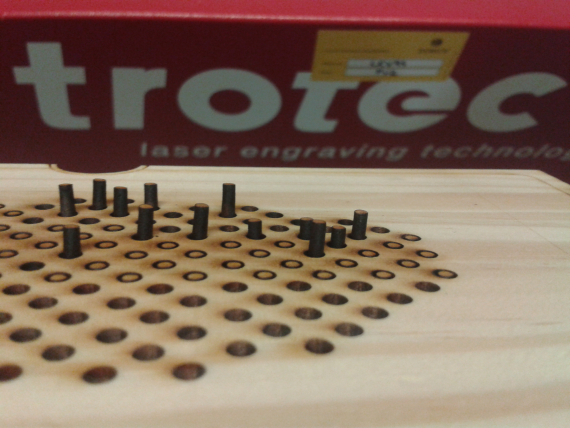
Here are my tests with two different materials. By assigning a certain colour to the lines on the drawings on the computer file you are able to adjust the power, speed and other functions of the laser, to engrave and cut. I was originally going to use the 4mm wood veneer plywood on the right (which is the thickest you are meant to be able to cut through on this particular laser machine), however as you can see from the fire mark (yes that does mean it was on fire), it was too sturdy for the laser at whatever power and speed I tried. The resins and glues that are inside the plywood meant that it was having a difficult time cutting through it, engraving on to it was fine though.
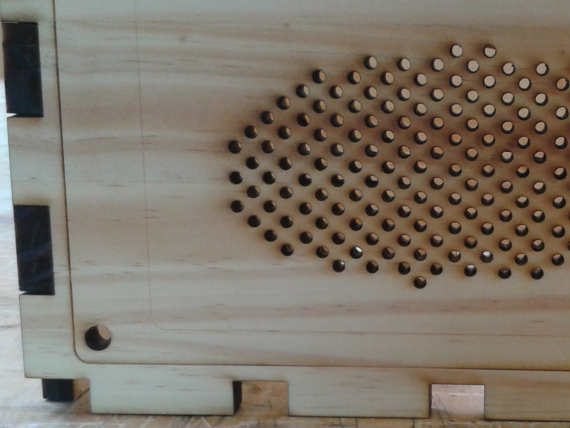
So next I tested the pine on the left, at 10mm I was worried about it catching on fire but it worked great. Through lots of testing I found which cut and engrave settings worked best. I wanted a nice honey brown seal around the wood, not a scorched burnt edge.
Next I did a scale model in cardboard, taking in consideration that I would be using a 10mm wood in the end.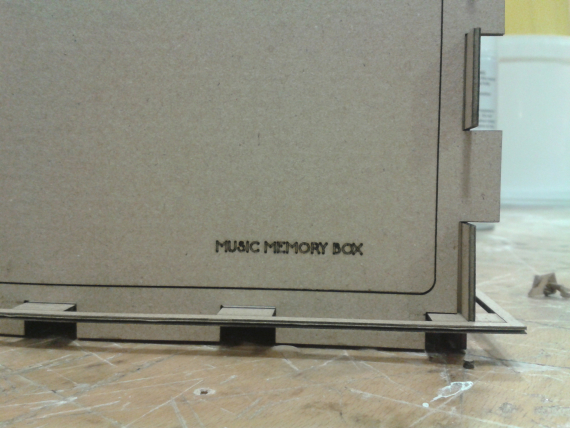
I have the rest of today to use the pine and create some boxes. My next boxes will consider more the technology positioning inside, will have input holes for the power/USB and hopefully have a board inside which holds all the tech, here are some sneak peaks of the pine tests I have just done. Hopefully by the showcase I will have a working prototype to show.
More updates @ChloeMeineck